
Write Text To File In Visual Basic

There are many ways to write text or string to a file. In this tutorial, we are going to use StreamWriter class and StringBuilder class.

StreamWriter is designed for character output in a particular encoding, whereas classes derived from Stream are designed for byte input and output.

StringBuilder class represents a string-like object whose value is a mutable sequence of characters.

Required Preferences

  • System.Runtime.Extensions.dll for StreamWriter class
  • System.Runtime.dll for StringBuilder class

Procedure

  • Open Visual Studio (Visual Studio 2019)
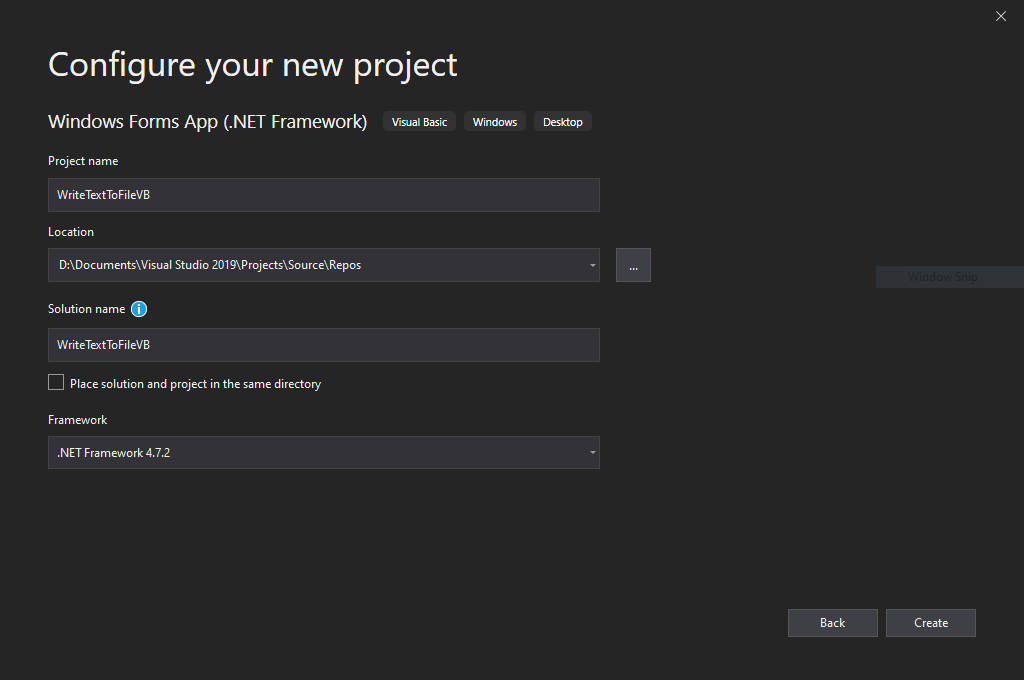
  • Create new Windows Forms App (.NET Framework) for Visual Basic then click next
  • Set the project name to WriteTextToFileVB, the location where to save the project, the solution name will automatically set but this can be set to any name example "Tutorials", set the framework (.NET Framework 4.7.2) or framework 1.1 or higher then click create

  • The new project will be display in few seconds

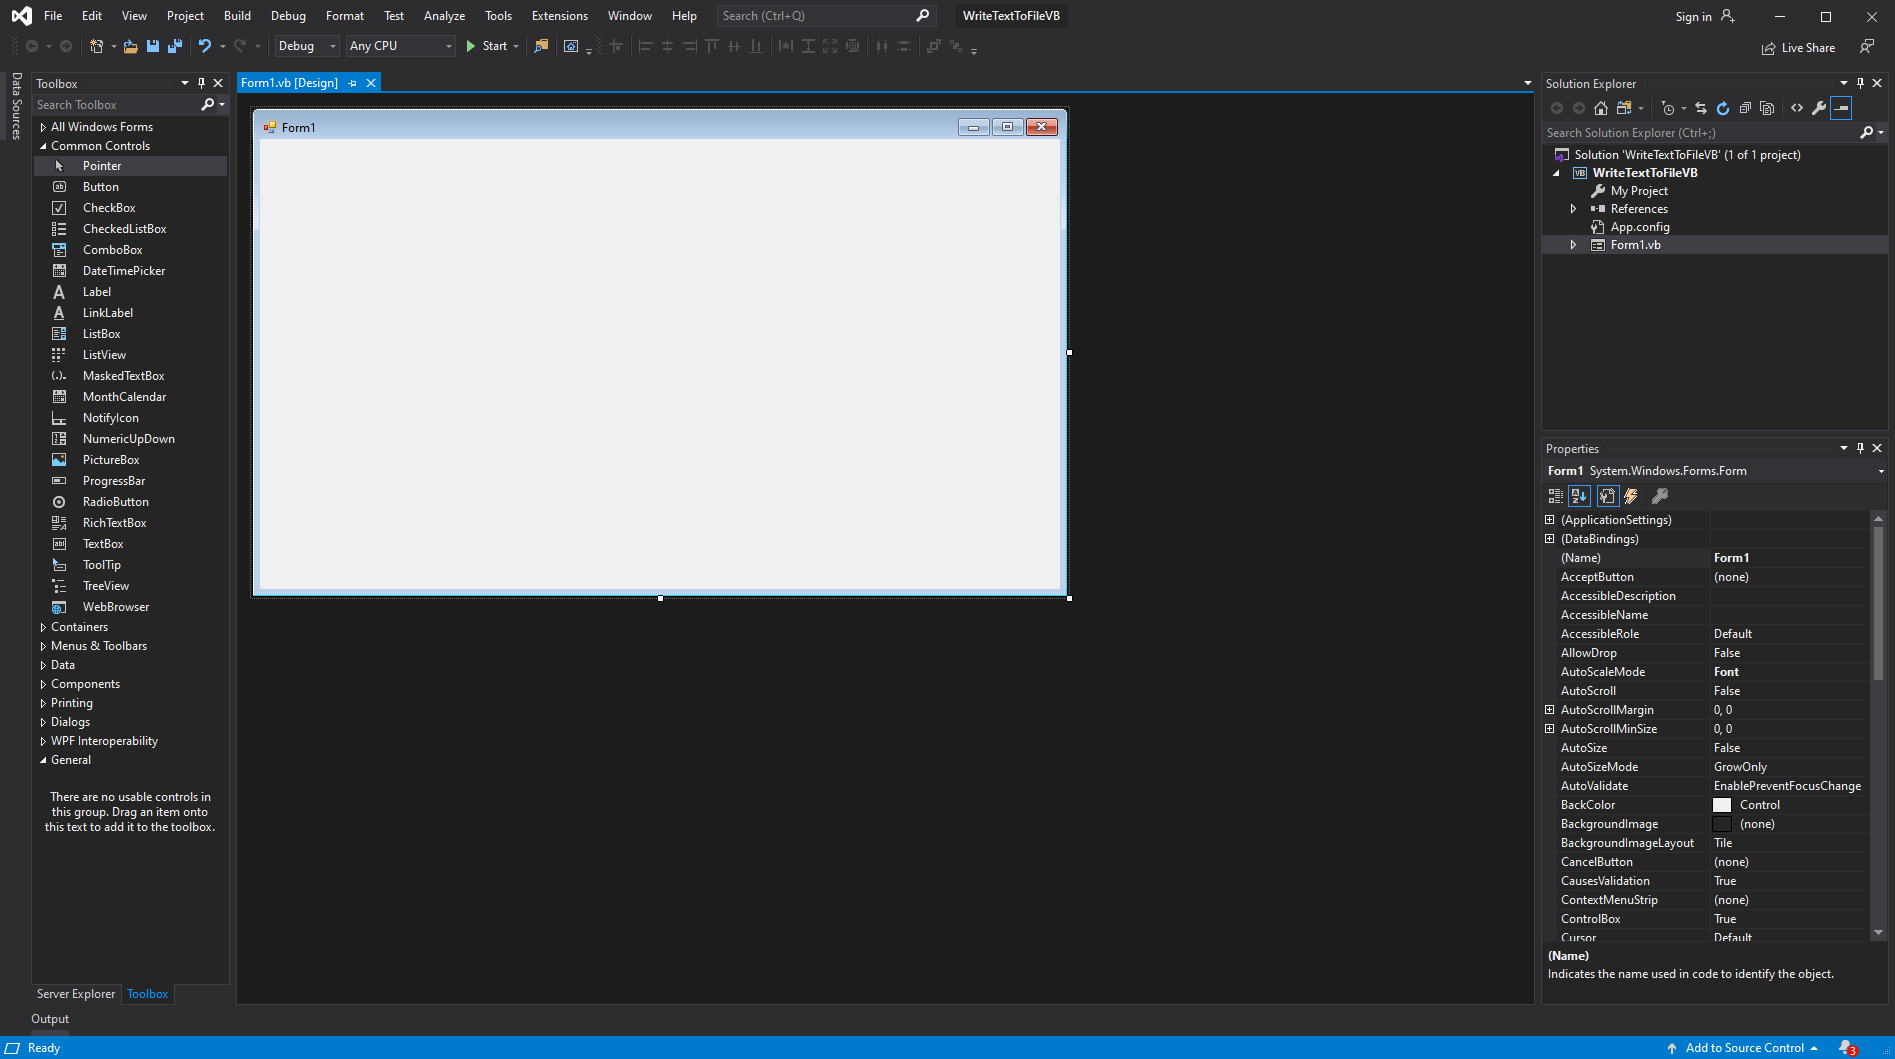
  • Rename the default form from Form1 to FormMain by renaming this at the project explorer or properties window at the right side then add 1 button control and 1 textbox control by click and dragging from the toolbox window on the left side to the FormMain

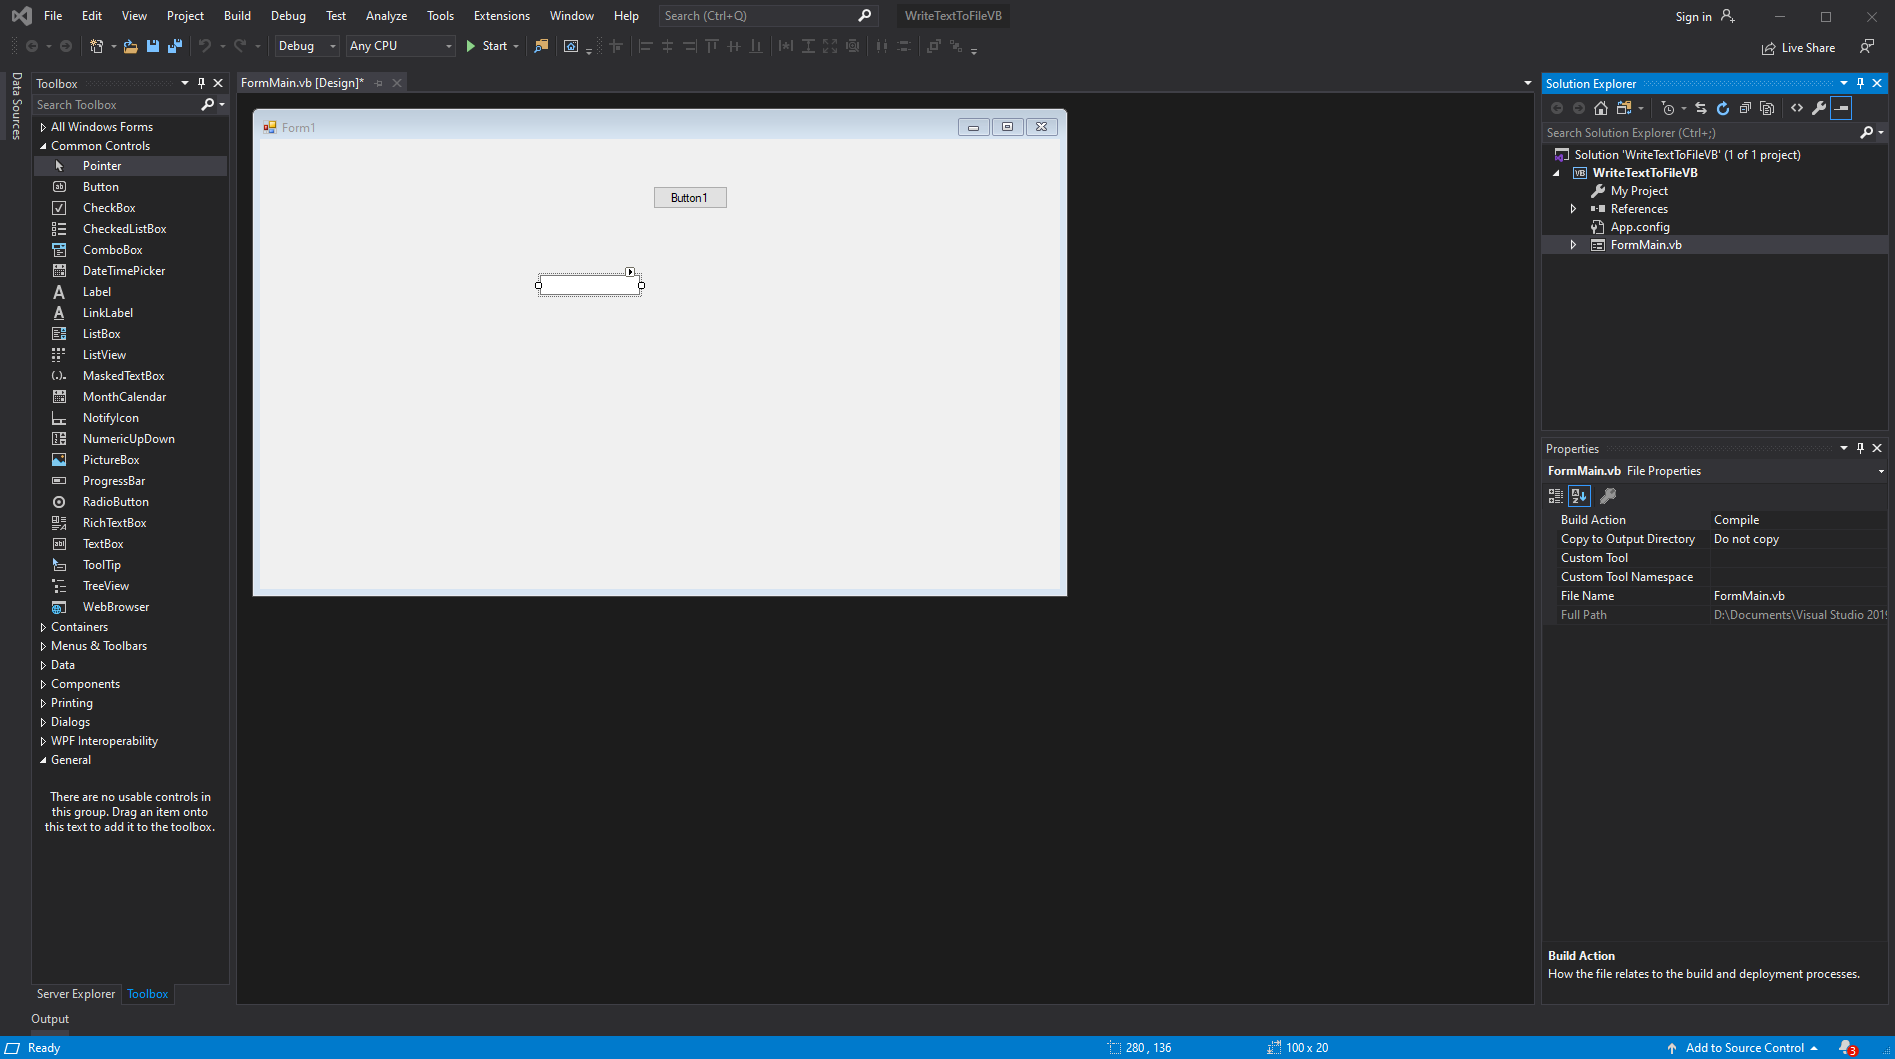
  • Arrange the button and textbox controls accordingly. Set FormMain.Text property to "Text To File Writer" and set FormMain.StartPosition to "CenterScreen". Set the button Name property to "ButtonWrite" and Text property to "Write To File". Then, set the textbox Name property to "TextContainer", Multiline property to "True" and set the textbox ScrollBars property to "Vertical" 

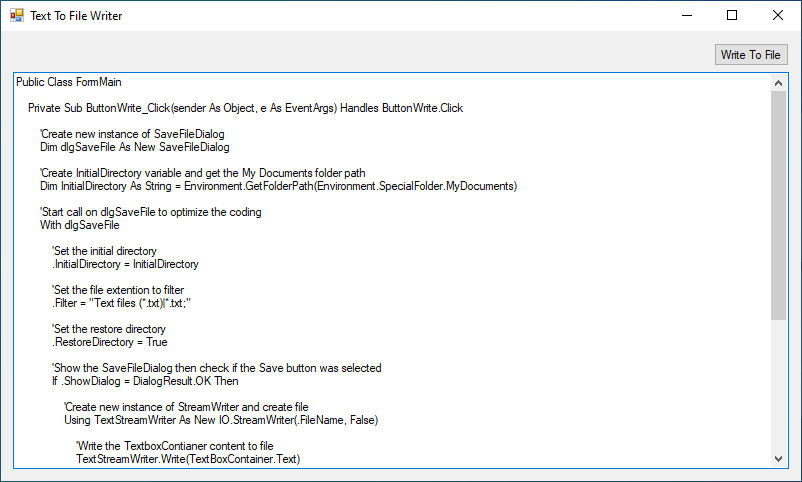
  • Double click the ButtonWrite control to view and add code in the click event of the button control. The source code is available at the end of the page

  • Then run the program

  • Save the this project for the future tutorials
  • That's all. I hope that you enjoy my tutorials. Subscribe to this page for more.

Code

 1
2
3
4
5
6
7
8
9
10
11
12
13
14
15
16
17
18
19
20
21
22
23
24
25
26
27
28
29
30
31
32
33
34
35
36
37
38
39
40
41
42
43
44
45
46
Public Class FormMain

Private Sub ButtonWrite_Click(sender As Object, e As EventArgs) Handles ButtonWrite.Click

'Create new instance of SaveFileDialog
Dim dlgSaveFile As New SaveFileDialog

'Create InitialDirectory variable and get the My Documents folder path
Dim InitialDirectory As String = Environment.GetFolderPath(Environment.SpecialFolder.MyDocuments)

'Start call on dlgSaveFile to optimize the coding
With dlgSaveFile

'Set the initial directory
.InitialDirectory = InitialDirectory

'Set the file extention to filter as text file
.Filter = "Text files (*.txt)|*.txt;"

'Set the restore directory
.RestoreDirectory = True

'Show the SaveFileDialog then check if the Save button was selected
If .ShowDialog = DialogResult.OK Then

'Create new instance of StreamWriter and create file
Using TextStreamWriter As New IO.StreamWriter(.FileName, False)

'Write the TextboxContianer content to file
TextStreamWriter.Write(TextBoxContainer.Text)

'Close the StreamWriter
TextStreamWriter.Close()

End Using
Else

'If Cancel button was click then
'Do nothing

End If

End With

End Sub
End Class


Download WriteTextToFileVB Project


Comments

Popular posts from this blog

Micom SE Studio1 Import Filter - Creating User Interface (UI)

Welcome to my page and welcome to the continuation of Omicron Import Filter tutorial series. In this tutorial, I will show you how to create the actual import filter fom Micom relays. In this tutorial, we will focus on the Visual Studio program. We're going to modify the codes in our project called MyImportFilter that we've created in the previous tutorial.  Download the project in this link  MyImportFilter - Process Relay Setting Parameters . Extract and open the project. Once the project is loaded, add New Folder inside the project and set the name to SEStudio1. We need this to make organize our project class filter.  SE Studio 1 stands for Schneider Electric Studio 1 which is the software that used in communicating MiCOM relays particularly P12x series. And yes we're going to create a new import filter and user interface form MiCOM P12x series relay. I think this will applied to other MiCOM P series relay. Add a new Form inside the  SEStudio1 folder  and set the name to

Write An Encrypted Text File In Visual Basic

There are many ways to encrypt text or data. In this tutorial, DESCryptoServiceProvider class to encrypt and decrypt strings using the cryptographic service provider version of the Triple Data Encryption Standard algorithm. The use encryption to protect secret data and to make data unreadable by unauthorized users. Creating encryption wrapper Open the previous project from this tutorial  Write Text To File In Visual Basic  then rename it to WriteTextToFileWithEncryptionVB or create a new project. I recommend to open the existing project to easily follow this tutorial. Create the Encryption3DesWrapper class to implement the encryption and decryption methods. 1 2 3 Public NotInheritable Class Encryption3DesWrapper End Class Add an import of the cryptography namespace to the start of the file that contains the Encryption3DesWrapper class. 1 2 3 4 5 Imports System.Security.Cryptography Public Class Encryption3DesWrapper End Class In the Encryption3DesWr